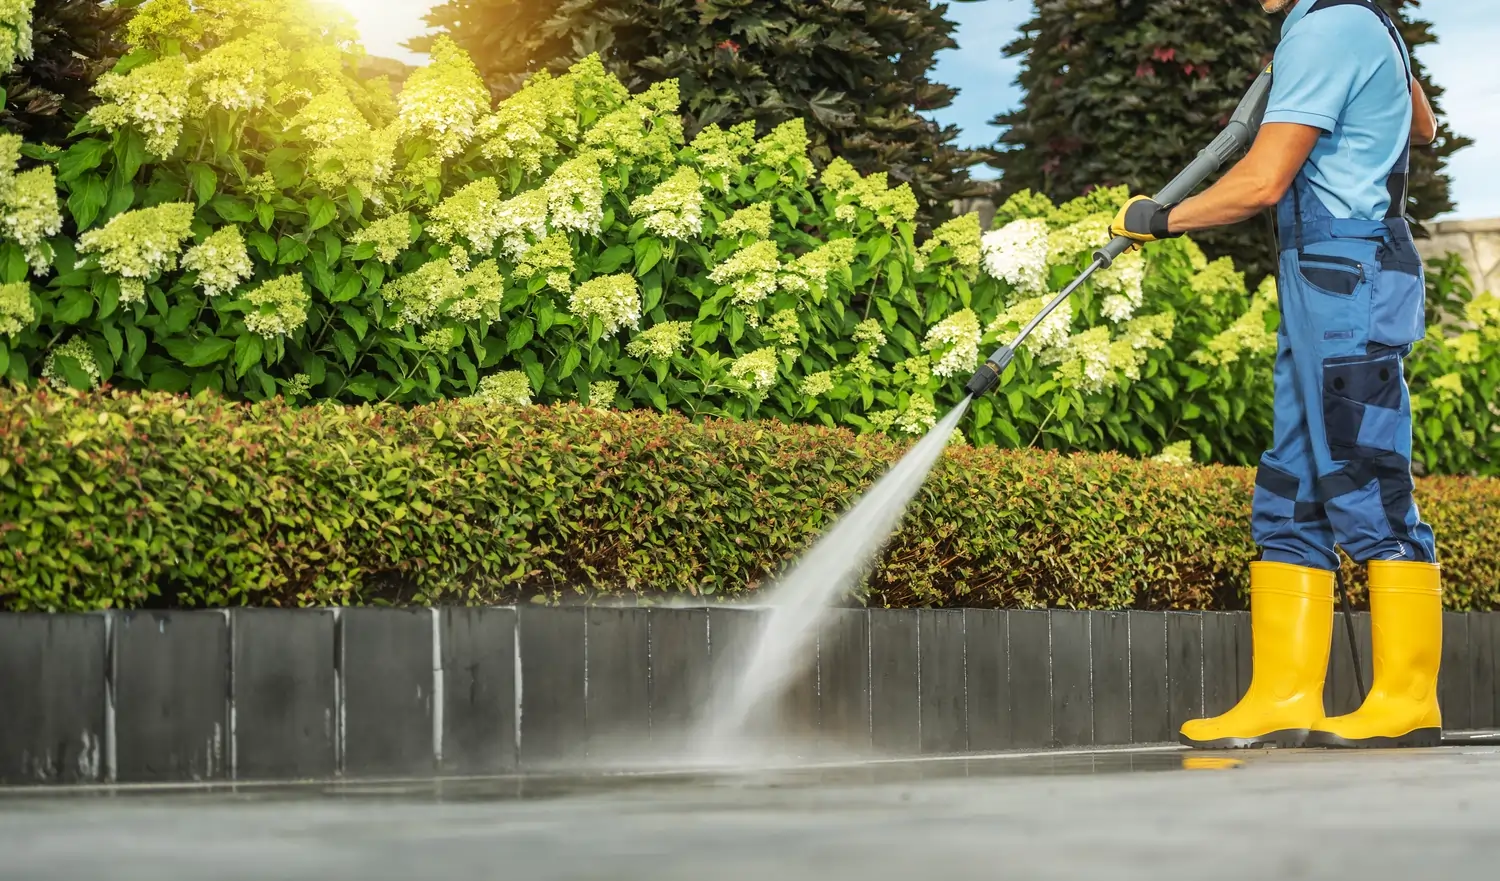
Your driveway is more than just a place to park your car; it is the welcome mat to your home. Over time, it faces a constant assault from oil leaks, tire marks, mold, mildew, and stubborn grime. If left untreated, these elements don’t just look ugly they can actually degrade your concrete.
In this 2026 definitive guide, we will walk you through the professional process to pressure wash driveway surfaces to restore that “like-new” look and boost your property’s curb appeal instantly.
Why Driveway Maintenance Matters in 2026
Concrete is a porous material. Think of it like a hard sponge. When oil or corrosive chemicals sit on the surface, they seep into the pores. During winter or heavy rain, trapped moisture can expand and contract, leading to cracks and expensive repairs.
According to real estate experts, a clean exterior can increase a home’s value by up to 5% to 10%. Regular maintenance is not an expense; it’s an investment in your home’s longevity.
Section 1: The Essential Equipment Checklist
Before you pull the trigger on that spray gun, you need the right tools. Using the wrong equipment is the fastest way to etch or damage your concrete permanently.
1. The Pressure Washer
For a standard concrete driveway, you need a machine capable of producing at least 3,000 PSI (Pounds per Square Inch) and a flow rate of 2.5 GPM (Gallons Per Minute). Gas-powered units are generally preferred over electric ones for heavy-duty driveway cleaning.
2. Nozzle Selection
Pressure washers come with color-coded tips. For driveways:
- Green (25-degree): Best for general cleaning.
- White (40-degree): Ideal for rinsing delicate edges or nearby siding.
- Yellow (15-degree): Use only for extremely stubborn stains (proceed with caution).
- Never use the Red (0-degree) tip on concrete; it acts like a laser and can cut through the stone.
3. Surface Cleaners
If you want a streak-free, professional finish, a Surface Cleaner attachment is mandatory. It uses spinning jets to provide uniform cleaning, preventing the “tiger stripes” often left by standard wands.
Section 2: Preparation Setting the Stage
You can’t just start spraying. Preparation is 50% of the job.
- Clear the Area: Move vehicles, potted plants, and toys.
- Sweep: Use a stiff broom to remove loose rocks and debris. Loose pebbles can become dangerous projectiles once hit by 3,000 PSI of water.
- Protect Your Landscape: High-pressure water and detergents can harm delicate plants. Rinse your grass and shrubs with plain water before and after the process to dilute any runoff.
- Pre-Treat Stains: Use a high-quality degreaser on oil spots. Scrub it in with a stiff brush and let it sit for 15 minutes.
Section 3: The Step-by-Step Cleaning Process
Step 1: Apply the Detergent
Most modern pressure washers have a “soap” mode. Apply a concrete-specific detergent starting from the lowest point of the driveway and working your way up. This prevents streaking. Let the soap dwell for 10 minutes, but do not let it dry on the surface.
Step 2: The Main Wash
Switch to your surface cleaner or 25-degree nozzle. Start at the highest point (near the garage) and work toward the street. This allows the dirty water to flow away from your clean work.
Step 3: Rinsing
Once the grime is lifted, switch to a wider nozzle (White 40-degree) to flush all the soap and dirt down to the gutter. Ensure no puddles of dirty water remain, as they will leave spots once dry.
Section 4: Post-Cleaning Care and Sealing
After you pressure wash driveway grime away, your concrete pores are wide open. This is the perfect time to apply a sealer.
- Penetrating Sealers: Protect against moisture and “freeze-thaw” damage.
- Acrylic Sealers: Give that “wet look” or high-gloss finish that makes colors pop.
Sealing your driveway every 2–3 years will make future cleaning much easier, as dirt will sit on top of the sealer rather than soaking into the concrete.
Section 5: Common Mistakes to Avoid
Ignoring Safety Gear: Never wear flip-flops. Pressure washers can lacerate skin instantly. Always wear boots and eye protection.
Using the Wrong Pressure: Too much pressure can “cream” the concrete, removing the smooth finish and exposing the rough aggregate underneath.
Washing in Direct Sunlight: This causes detergents to dry too fast, leaving white film marks that are hard to remove.
Why Choose a Professional Service?
While DIY is possible, it is time-consuming and physically demanding. Renting a commercial-grade machine, buying chemicals, and spending 5–8 hours of your weekend is a heavy price.
At Camo Pressure Washing, we use military-grade discipline and industrial equipment to ensure your driveway isn’t just clean—it’s restored. We handle the degreasing, the high-flow washing, and the cleanup, leaving you with nothing but a beautiful home.
Understanding Different Types of Driveway Stains
Not all stains are created equal. To pressure wash driveway grime effectively, you need to treat different spots with specific techniques:
1. Oil and Grease Stains
These are the most common and the most stubborn. Since oil is lighter than water, it floats. If you just hit it with high pressure, you might push it deeper.
- The Pro Fix: Use an alkaline-based degreaser. Apply it “neat” (undiluted) to the stain, scrub with a wire brush, and let it sit for 20 minutes before washing.
2. Rust Stains (Irrigation or Battery Acid)
Orange rust stains often come from metal furniture or well-water irrigation. Standard soap won’t touch these.
- The Pro Fix: You need an oxalic acid-based cleaner. This chemically reacts with the rust to lift it from the concrete pores.
3. Organic Growth (Mold, Mildew, and Algae)
If your driveway has green or black spots, it’s alive. This is common in shaded areas.
- The Pro Fix: Use a Sodium Hypochlorite (Bleach) solution. This kills the spores so the algae doesn’t grow back within a month.
Environmental Responsibility & Runoff
In 2026, being an eco-friendly homeowner is vital. When you pressure wash driveway surfaces, the water carries oil, chemicals, and detergents toward the storm drains.
- Containment: Try to divert runoff toward your lawn where the soil can naturally filter the water.
- Biodegradable Soaps: Always use “EPA Safter Choice” certified detergents. It protects the local water supply and keeps your pets safe.
When is the Best Time to Pressure Wash?
Timing is everything for a streak-free finish.
- Avoid the Noon Sun: Direct sunlight dries the soap too fast, leaving “surfactant spots” that look like white clouds on your driveway.
- The Overcast Advantage: A cloudy day is the best time to clean. It keeps the surface cool and the soap active for longer.
- The Seasonal Rule: Most professionals recommend a deep clean in the Late Spring (to remove winter salt and grime) and Late Fall (to clear away decaying leaves that can stain).
Frequently Asked Questions
1. Will pressure washing my driveway kill my grass or plants?
It can, but it doesn’t have to. The high-pressure stream itself can shred leaves instantly, and certain detergents (like bleach or heavy degreasers) can chemically burn roots.
- The Professional Solution: At Camo Pressure Washing, we use a technique called “Pre-Wetting.” We soak all surrounding vegetation with fresh water before we start and rinse them again after we finish. This ensures any runoff is too diluted to cause harm.
2. How often should I pressure wash my driveway?
For most homeowners in 2026, once a year is the sweet spot. However, if your property is surrounded by large trees (which drop sap and leaves) or if you have vehicles that leak oil, you might need a “Touch-up” wash every six months. Regular cleaning prevents the permanent “shadowing” of stains into the concrete.
3. Can I pressure wash an asphalt driveway?
Caution is required here. Unlike concrete, asphalt is held together by oil-based binders. If you use too much pressure or high heat, you can actually strip the oils out of the asphalt, causing it to crumble or unravel.
- Pro Tip: Use a lower PSI (under 2,000) and a wider nozzle for asphalt, or better yet, hire a pro who understands the delicate nature of bitumen.
4. How long does it take for a driveway to dry after pressure washing?
On a typical sunny day with moderate humidity, a driveway will be dry to the touch in 2 to 4 hours. However, if you are planning to apply a sealer, you must wait at least 24 to 48 hours of dry weather. Moisture trapped inside the concrete pores can cause sealers to turn cloudy or peel.
5. Why does my driveway have “Tiger Stripes” after I washed it?
“Tiger stripes” or streak marks occur when a standard spray wand is used unevenly. If the distance between the nozzle and the concrete varies even by an inch, the cleaning depth changes.
- The Fix: This is why we use Professional Surface Cleaners. These circular attachments have two spinning nozzles that maintain a perfectly level distance from the ground, ensuring a uniform, streak-free finish every time.
6. Can pressure washing remove old oil stains?
Yes, but with a caveat. If the oil has been there for years, it may have deeply penetrated the concrete. While we can remove the surface grime and 90% of the discoloration, a faint “ghost stain” might remain. Pre-treating with professional-grade enzymes is the best way to break down these deep-set oils.
7. Is it better to use hot water or cold water for driveway cleaning?
Cold water is fine for dirt and mud. However, for oil, grease, and gum, hot water is significantly more effective. Think of it like washing greasy dishes in the sink—hot water melts the oils, allowing the detergent to work much faster.
Conclusion
Learning how to pressure wash a driveway is a great skill for any homeowner, but doing it correctly requires patience and the right technique. By following this 2026 guide, you can ensure your home stays the pride of the neighborhood.
Ready to see the transformation?
Contact Camo Pressure Washing today for a free, no-obligation estimate. Let us do the dirty work while you enjoy the results!